Plastic welding training
Our plastic welding training is built around real repair and fabrication tasks, not classroom theory on its own. Sessions in Germiston cover plastic identification, rod selection, gun control, joint preparation and finishing so attendees can leave with usable workshop practice.
Training that matches workshop work
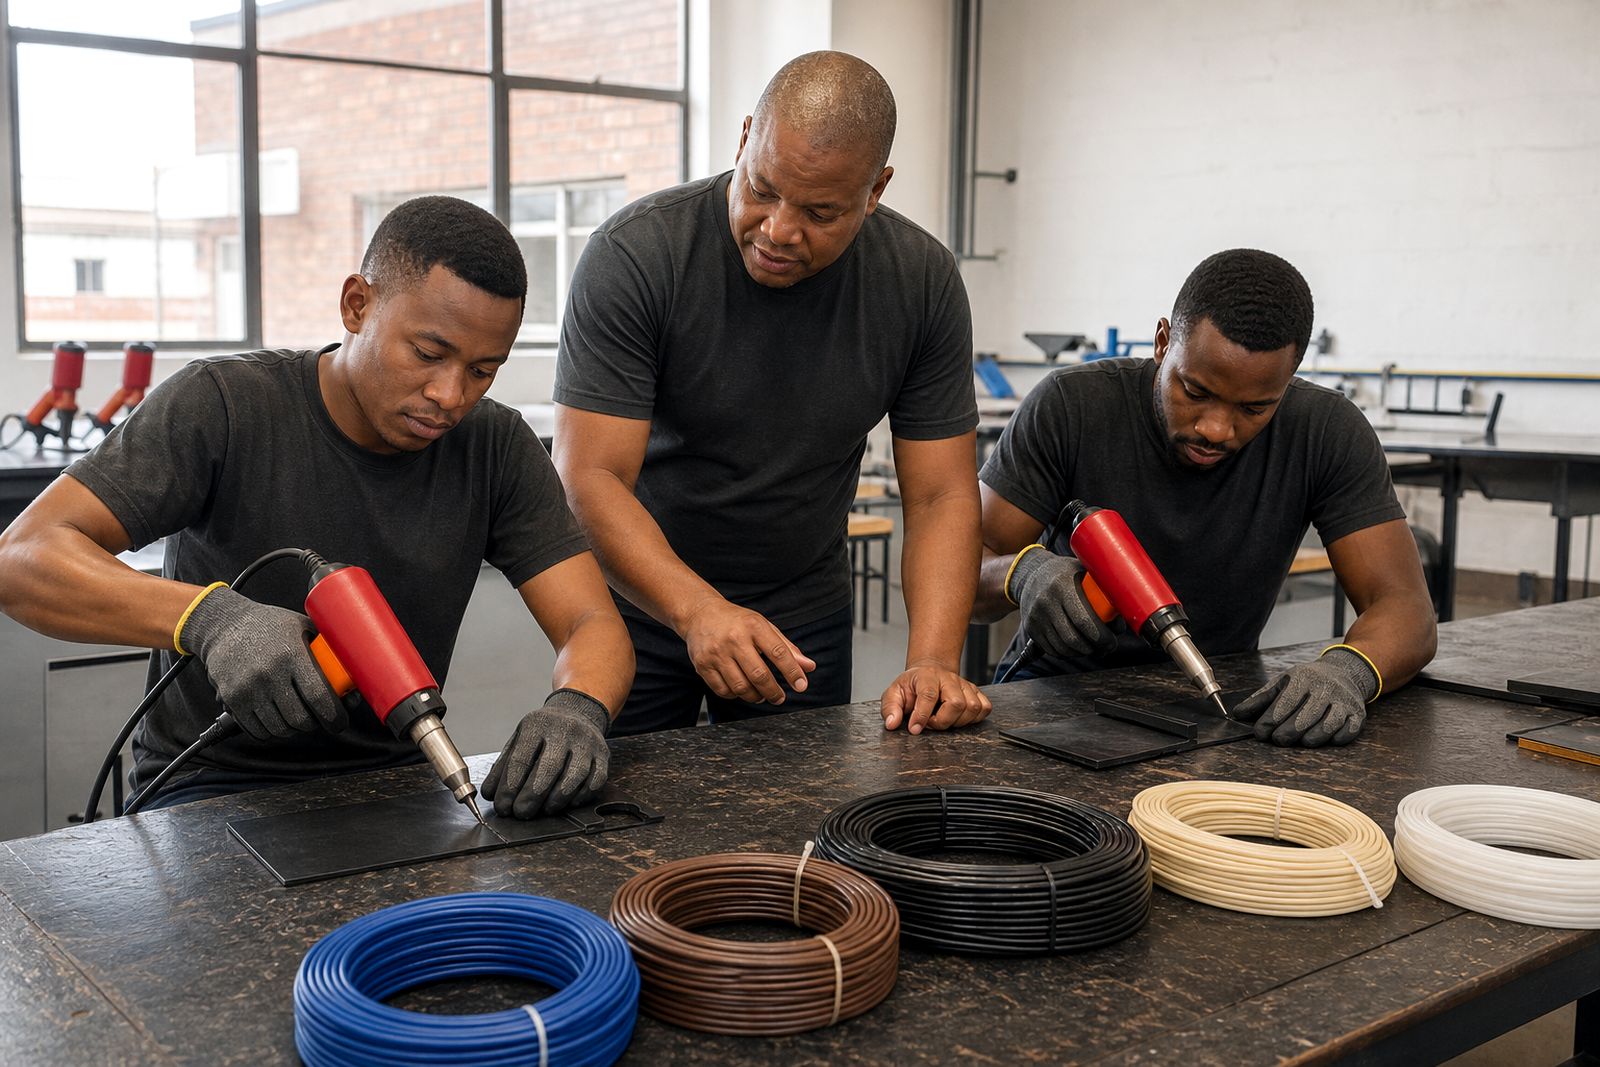
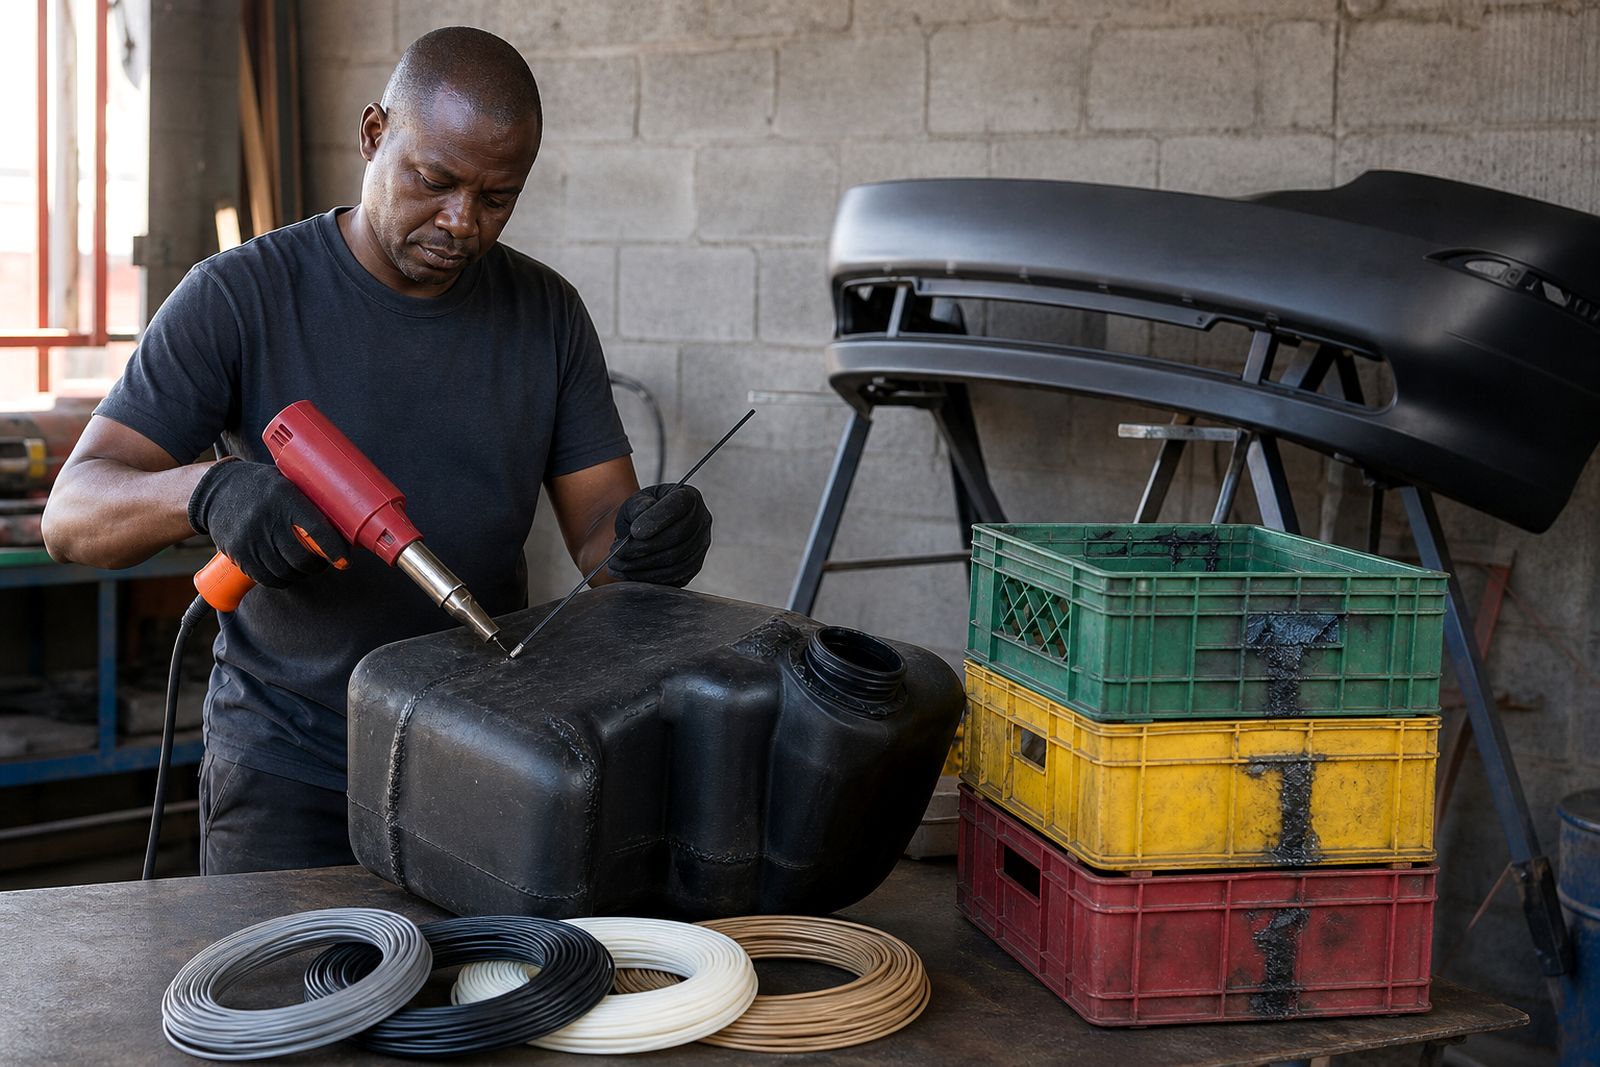
These sessions are for panel shops, maintenance teams, fabricators and hands-on DIY users who need proper grounding in plastic welding. We focus on the plastics and joint types people actually meet in day to day work, including tanks, bins, crates, bumper components, pipe sections and fabricated parts. The aim is to help attendees recognise the material, prepare it correctly and weld with a finish that holds under service.
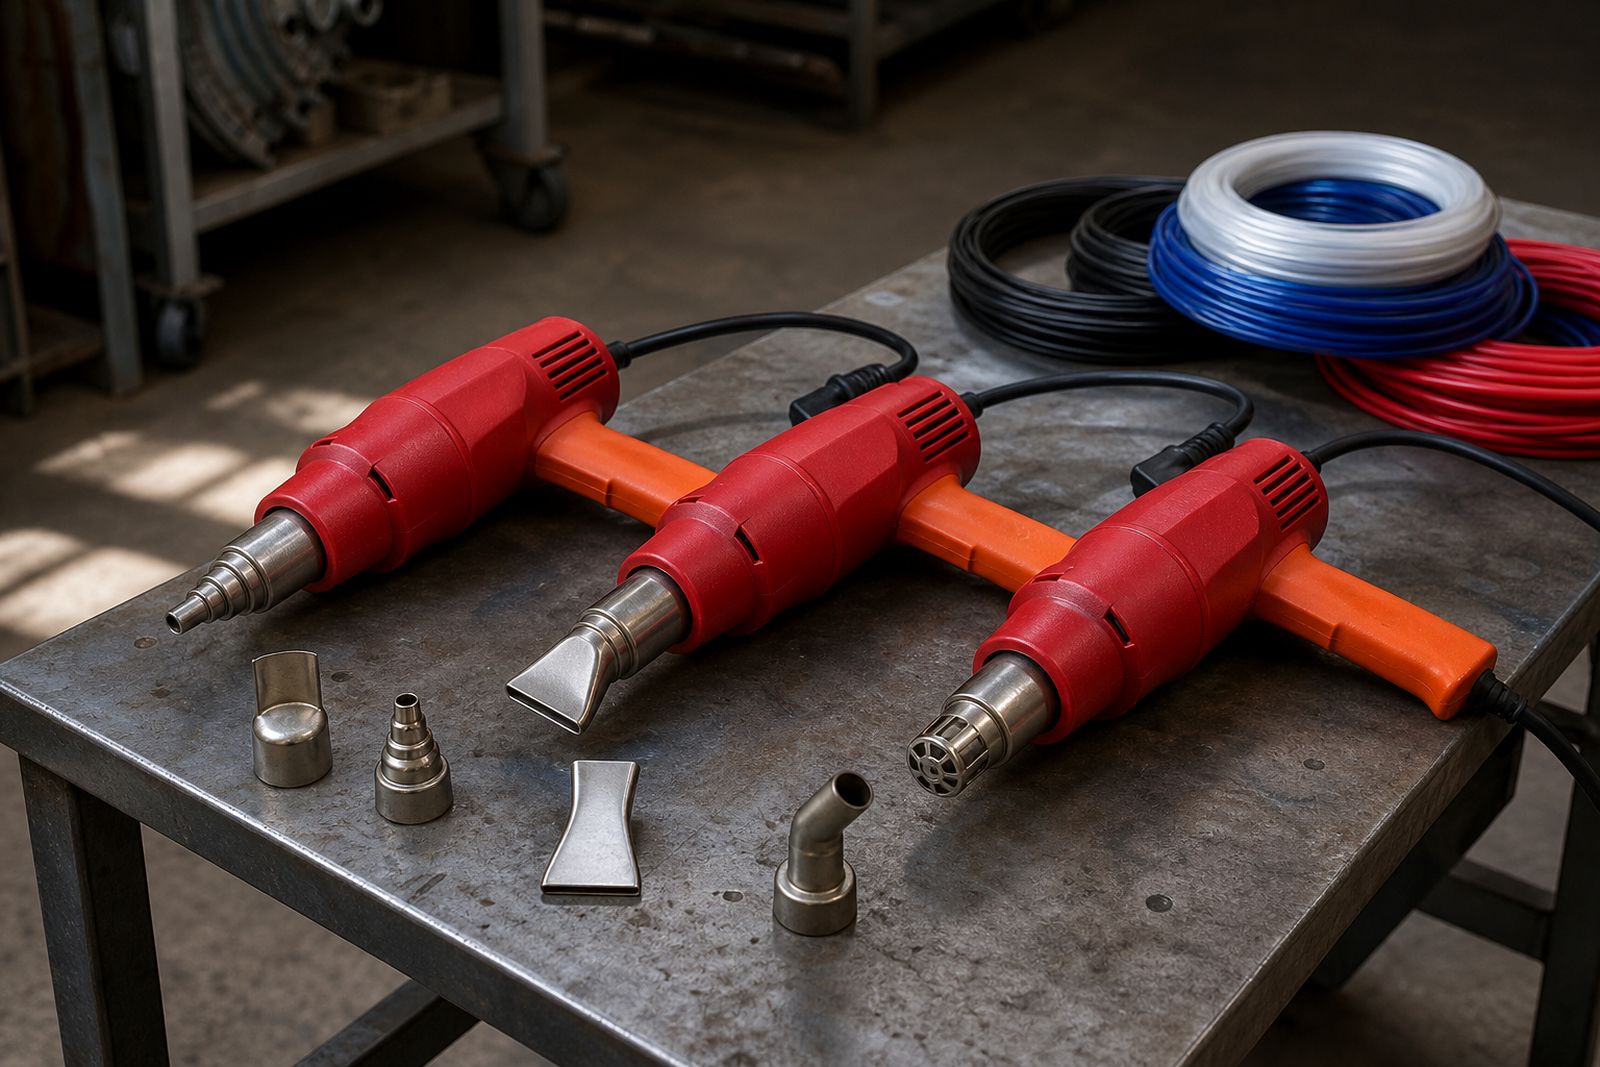
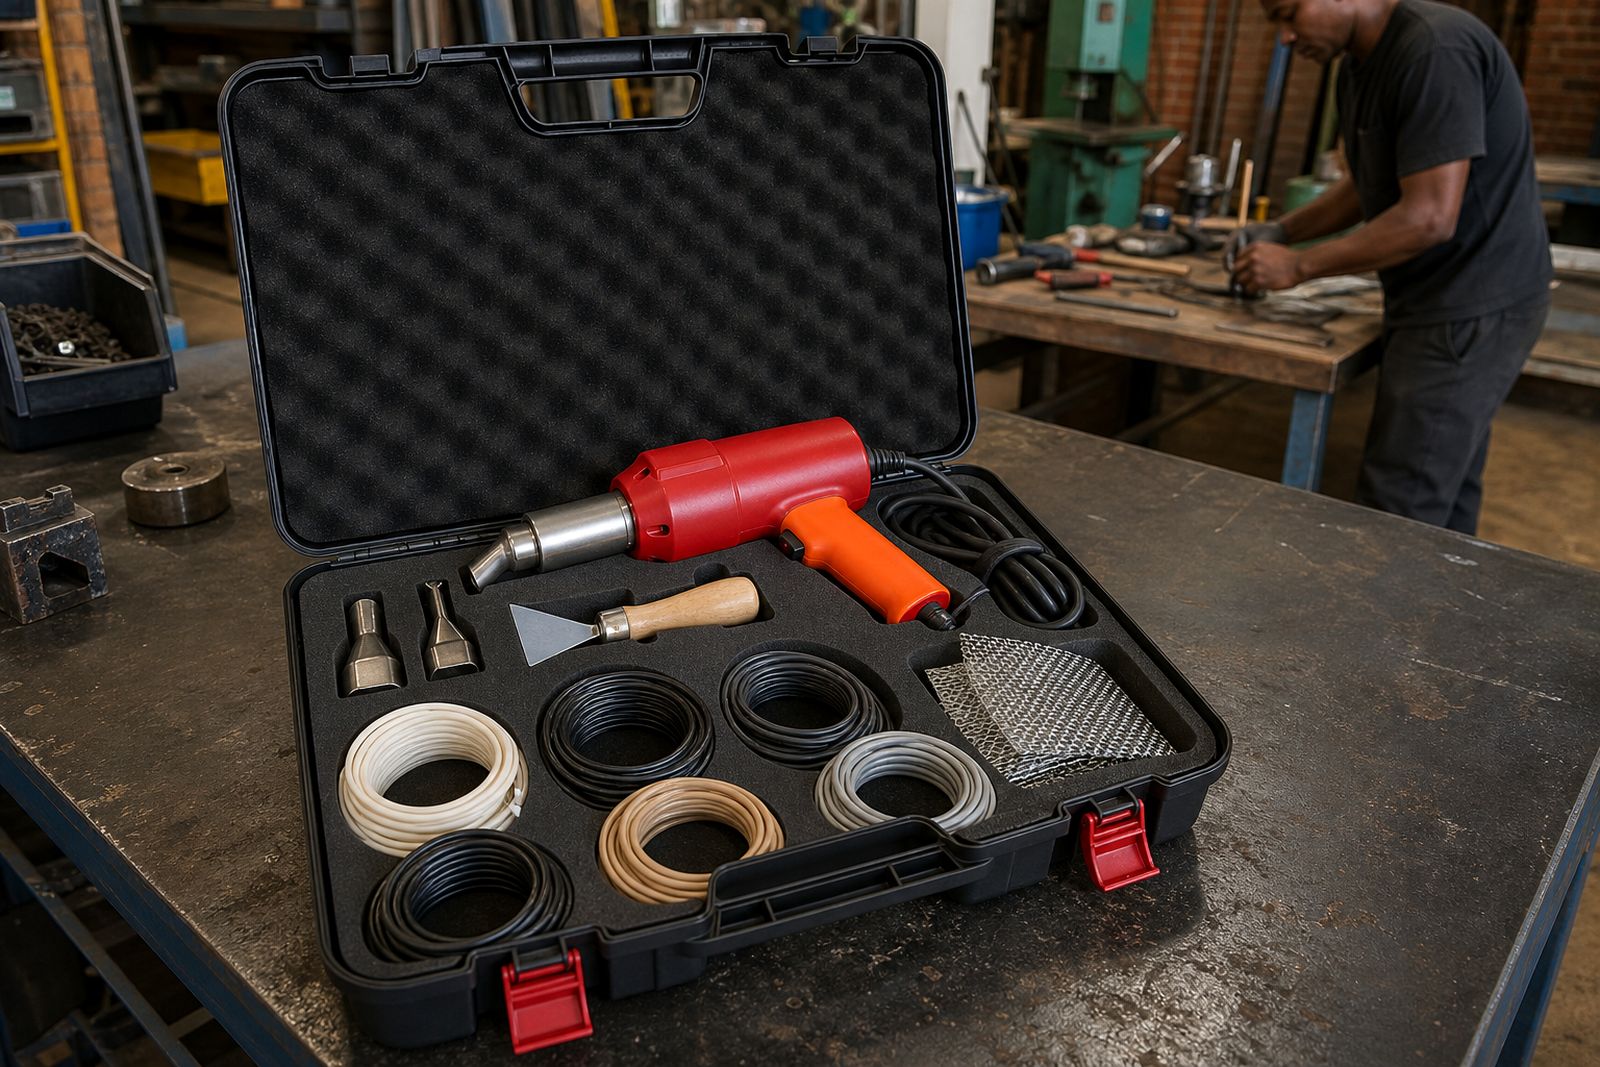
Training is practical from the start. Attendees work with hot-air guns, speed nozzles, tacking nozzles, welding rods and preparation tools while the trainer demonstrates each stage and then watches the weld being repeated. Small corrections in angle, travel speed and pressure make a big difference, so the session is very hands-on and not rushed.
- Plastic identification by appearance, feel and use case
- Matching rod type to the parent material
- Surface preparation, cleaning and groove cutting
- Tacking, speed welding and freehand welding methods
- Reinforcement with stainless mesh where it suits the repair
- Finishing, trimming and checking the weld area
What is covered in the session
The content is adjusted to the work your team does most often. If the main need is bumper and trim repair, more time goes to PP, PP/EPDM and ABS techniques. If the work is on tanks, liners or process items, we spend longer on PE, HDPE and PP handling, crack stopping, V-grooving and layered fill. PVC can also be covered where it forms part of the workshop's repair work.
Attendees are shown how nozzle choice changes the weld, when a speed tip helps, and when freehand feeding gives better control. We also cover basic fault finding such as poor fusion, overheating, contamination and distortion. That part matters because many failed repairs are not caused by the rod, but by prep, gun movement or trying to weld the wrong plastic.
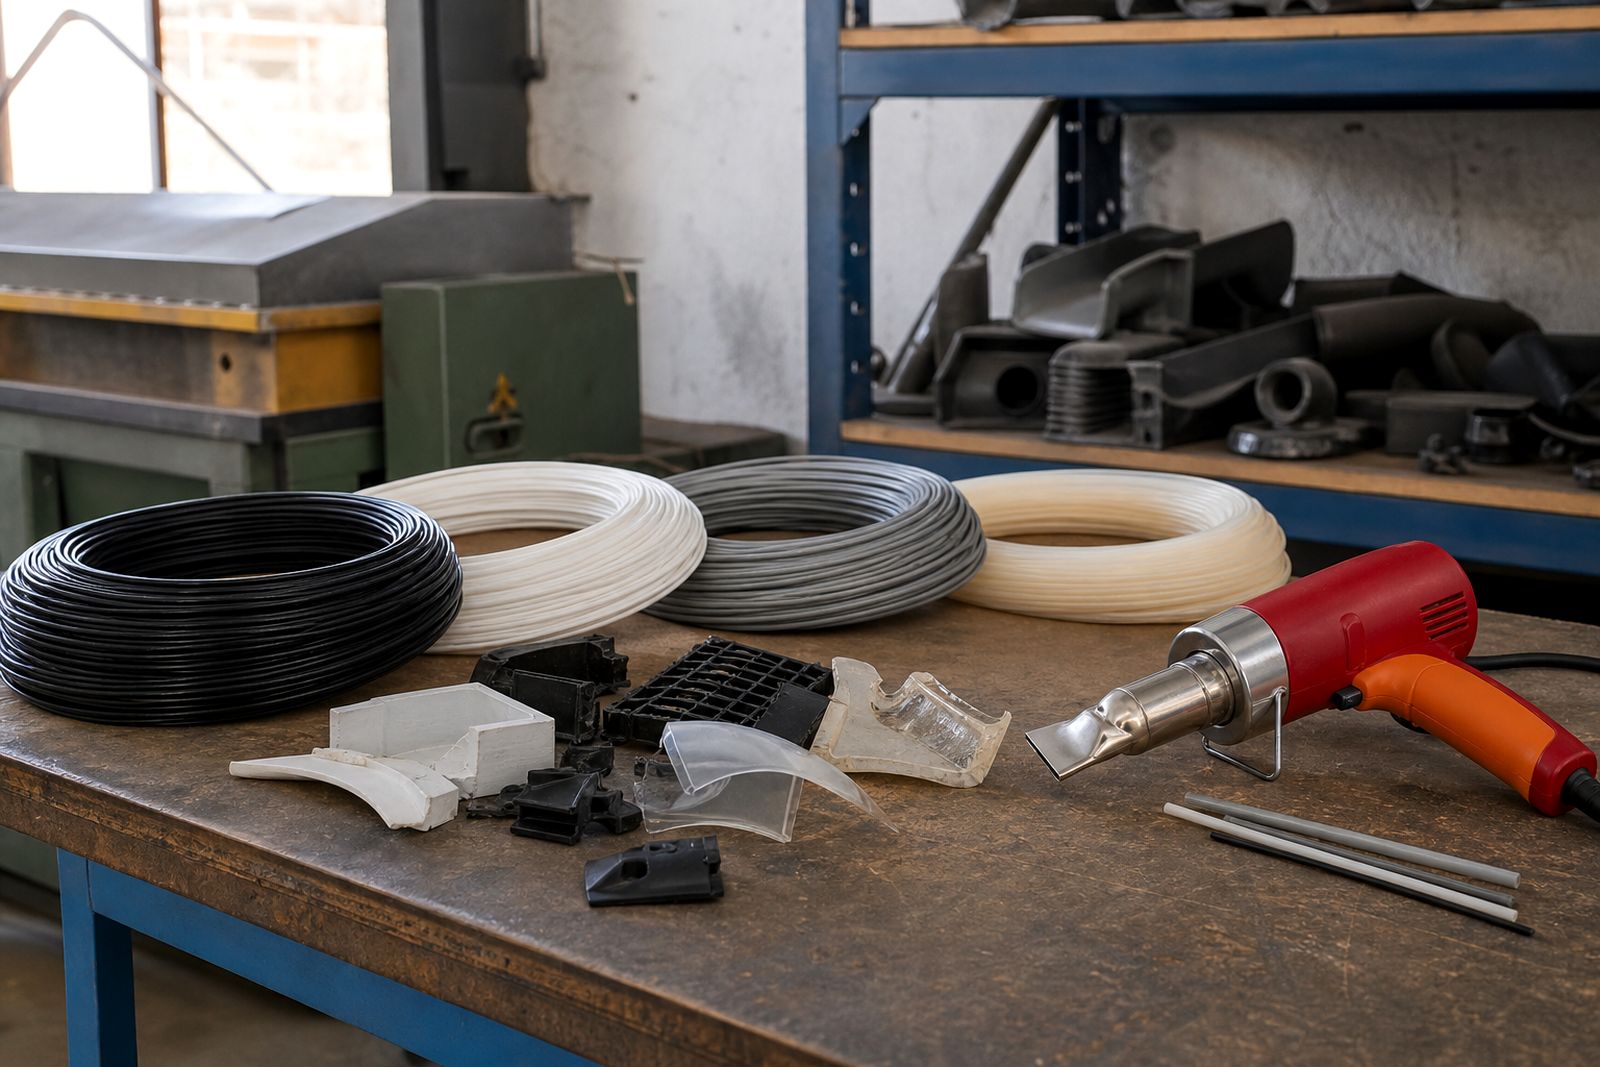
- Common rod profiles used in training include round and triangular
- Typical materials include PP, PE, HDPE, ABS, PVC and PP/EPDM bumper rod
- Joint practice can include butt joints, lap sections, crack repair and patching
- Fabrication basics can include edge build-up, corner work and seam finishing
How the training runs, step by step
Before the session, we discuss the kind of repairs or fabrication your team needs to handle. That lets us set up the right rods, accessories and practice pieces. On the day, training starts with a short safety and equipment briefing, followed by material identification and a look at sample welds so attendees can see the difference between a sound weld and a weak one.
From there the group moves into preparation. Surfaces are cleaned, the crack or joint is opened where needed, and the correct rod is chosen. The trainer demonstrates the pass first, then each attendee repeats it with guidance on stance, gun angle and travel speed. Once the basic pass is controlled properly, we move to repairs with more shape and stress points. That is usually where the learning really lands, because the hand position and heat control become more obvious.
The final part covers trimming, scraping and visual checking. We also discuss where a repair is suitable and where replacing the part makes more sense. It helps to be straight about limits, especially on badly degraded plastic or parts contaminated with oils and chemicals.
What to prepare before attending
A little preparation makes the day more useful. If you have examples of the items you repair most often, bring clean sections or off-cuts where possible. That allows the training to match your actual work rather than a generic sample only. Very dirty or chemical-soaked parts are not ideal for a first session.
Please also think about who should attend. A compact group usually learns better than a room full of observers, because each attendee needs time on the gun. Closed shoes and work clothing are sensible, and anyone attending should be comfortable using hand tools. If your workshop wants training centred on one material only, mention that through our contact form so the session can be planned around it.
- Bring sample parts or off-cuts if available
- Note the plastics you struggle to identify
- List the repair types you need most often
- Wear practical workshop clothing and eye protection
- Allow bench space for hands-on work and sample handling
How training is costed
Training cost depends on the scope of the session rather than a flat figure. The main factors are the number of attendees, how many materials need to be covered, whether the focus is repairs only or includes fabrication practice, and how much consumable material is required during the session. A short introductory session and a broader workshop programme are costed differently for obvious reasons.
Starter kits, rods, nozzles and accessories can be included where needed, especially for teams that want to keep practising after training. We explain the options clearly so you can see what forms part of the training itself and what is equipment for later workshop use. There is no need to guess which rod type to add, we help match it to the plastics you work with.
Aftercare and practice after the session
Good results depend on repeating the method while it is still fresh. After training, most teams benefit from setting aside a few damaged samples or off-cuts for practice before moving straight onto high-value parts. A neat weld bead is useful, but proper fusion matters more, and that usually improves after a bit of repetition.
We can also help you choose the rods, gun setup and accessory mix that fit your workshop work. If a team is repairing tanks and bins, the pack of consumables will differ from one used mainly for bumper work. For follow-up product selection or another training booking, use our contact form.
- Keep a small range of matching rods on hand for common plastics
- Mark sample plastics clearly to avoid mixing materials
- Practise on clean scrap before tackling visible finished parts
- Replace worn nozzles and scrapers when control starts slipping
What our Plastic Welding customers say
Verified Google reviews
Questions we get asked
Do you teach complete beginners?
Yes. The training can start with the basics of plastic identification, rod matching, preparation and first passes before moving to more difficult repairs.
Can we bring our own damaged parts or samples?
Yes, clean sample pieces and off-cuts are useful because they make the session closer to the work you actually handle.
Do you do the repairs for customers after training?
No. We supply rods, hot-air guns, accessories, starter kits and training, but we do not take in public repair jobs.
Also worth a look
Tell us about the job
Send sizes, materials and where you are through our contact form, and we will come back with the practical options.
Open the contact form