

Speed welding basics
Speed welding works best when the rod, nozzle and parent plastic move as one heated joint rather than three separate parts. This guide covers the hand position, pressure and pace that help produce a bead with proper fusion instead of a neat-looking surface skim.
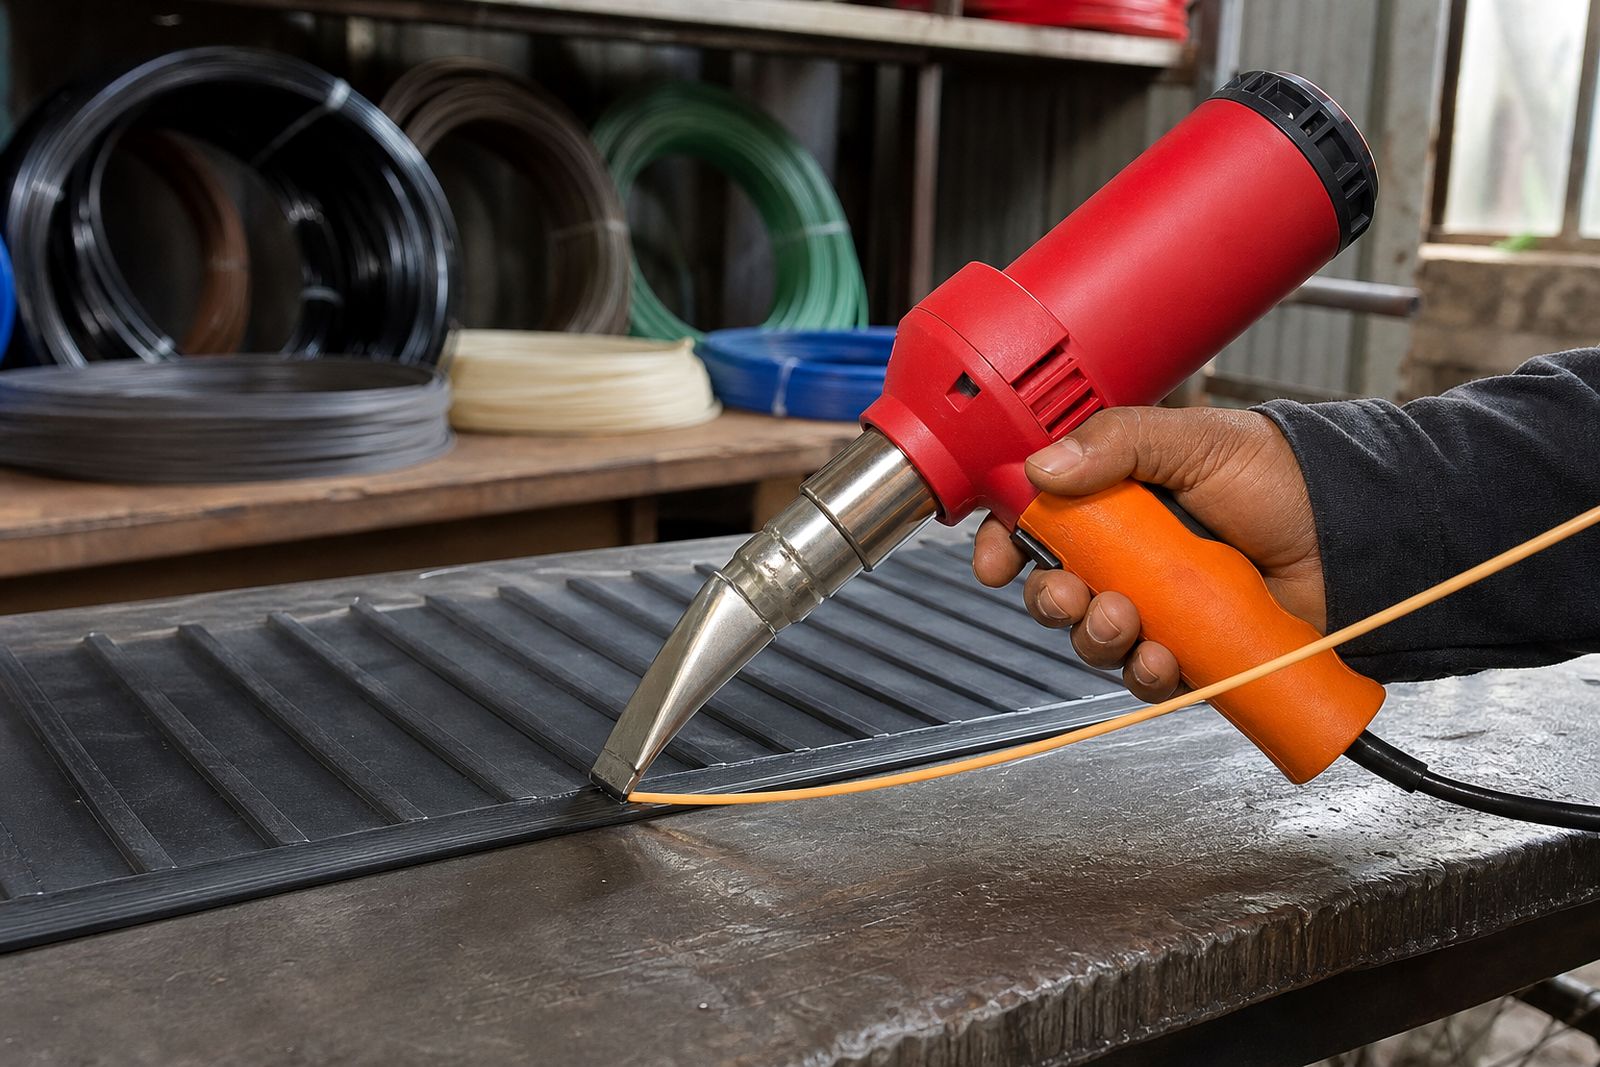
Start with a joint that can actually weld
Speed welding is not a trick for forcing a poor joint to hold. The plastic must be clean, correctly identified and trimmed so the rod can fuse into the repair rather than sit on top of dirt, paint, oil or oxidised material. On tanks, bins, bumpers and fabricated parts, most weak welds start before the hot-air gun is switched on.
Remove coatings, grease and loose fibres from the repair zone, then cut or scrape back to sound plastic. If the crack edges are closed tight with no groove, the rod often bridges across the top and leaves a hollow under the bead. A shallow V on many butt repairs gives the heat somewhere to work and helps the rod settle properly.
- Check the plastic type before choosing the rod.
- Clean the joint faces and the area around them.
- Cut away brittle, chalky or split material.
- Prepare a groove where the joint needs filler.
- Test on a scrap piece if the plastic is uncertain.
If you are unsure whether the part is PP, PE, ABS or PVC, sort that out first. Correct rod choice matters more than trying to rescue the weld with extra heat later.
Set the gun and nozzle for controlled heat
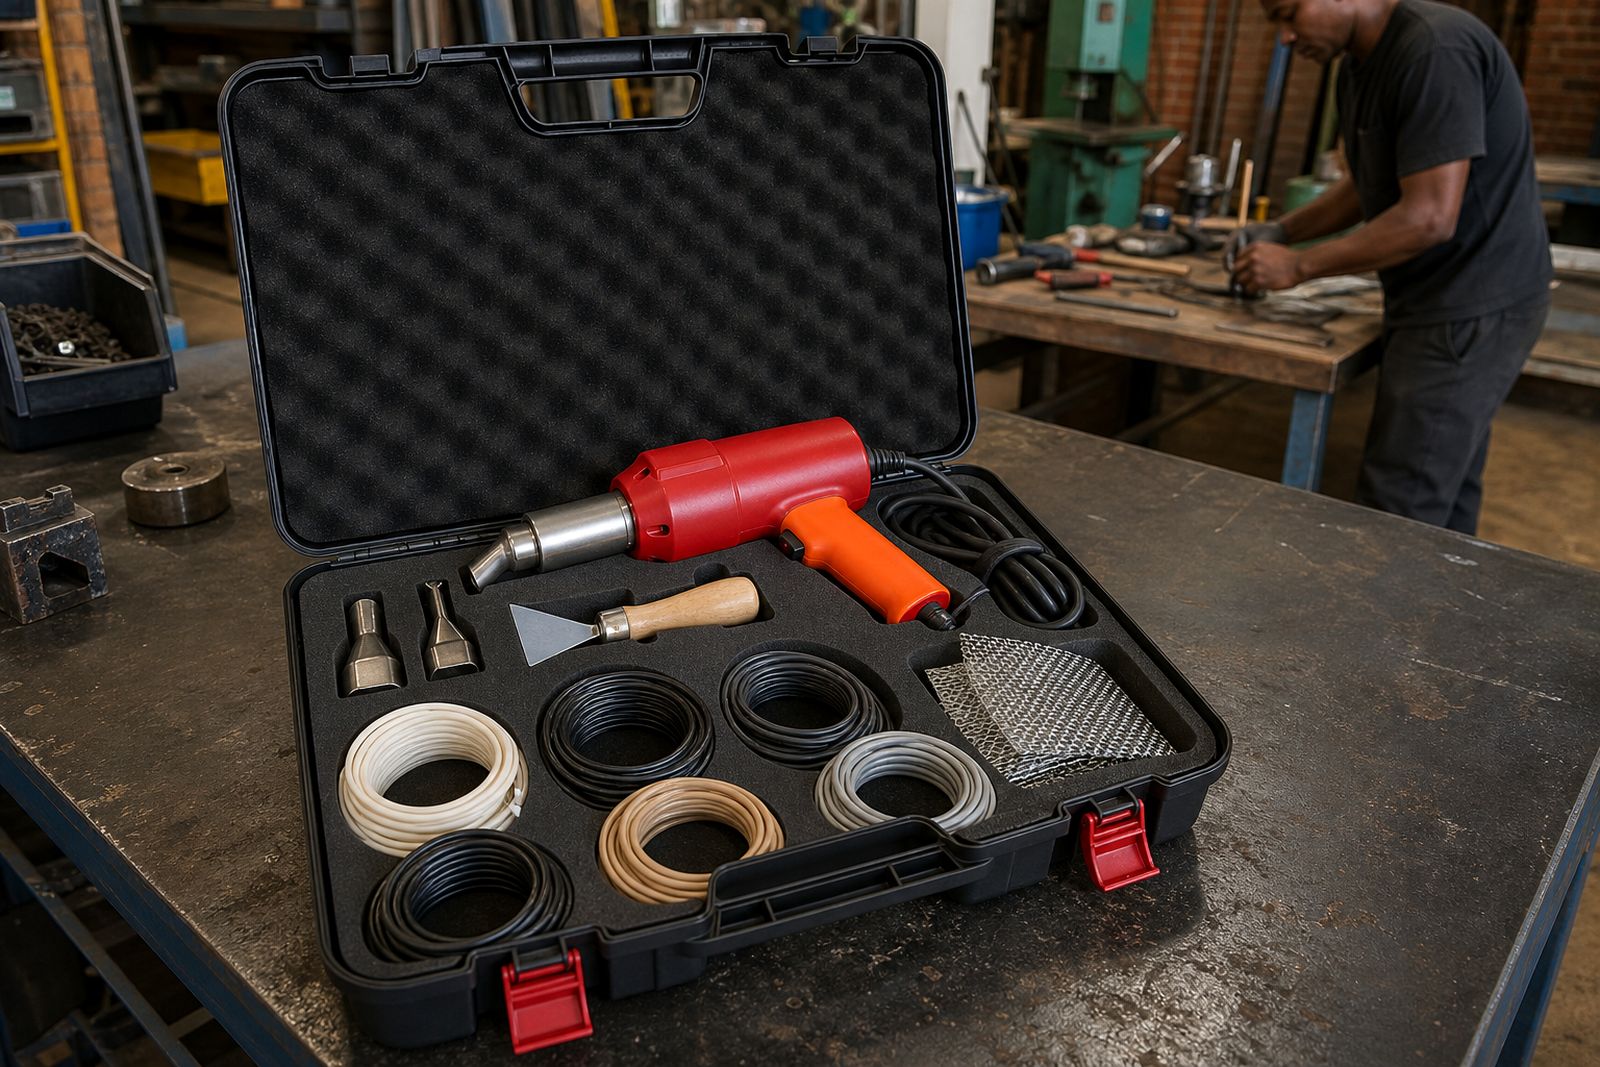
A speed nozzle guides the rod and concentrates hot air where the rod enters the weld. That focused heat is what lets the bead flow forward in a controlled line. With a plain open nozzle, you can still tack and preheat, but proper speed welding is far easier once the rod is feeding through the correct attachment.
The gun setting must match the plastic, the rod profile and the job thickness. Too cold and the rod drags or skips across the surface. Too hot and the parent plastic turns glossy, sinks away or burns brown at the edges. Workshop conditions matter as well. A breeze through an open roller door in Germiston, or a cold workpiece left overnight, can change the feel of the weld more than people expect.
- Fit the speed nozzle squarely and make sure the rod runs freely.
- Trim the rod end neatly before feeding it into the nozzle.
- Warm thicker parts a little longer before adding pressure.
- Watch the plastic surface, not only the gun setting.
- Stop if the material scorches or smears excessively.
The goal is a softened zone at the front of the bead where both the rod and the base plastic are ready to fuse. You are looking for a steady melt state, not a puddle.
Rod angle and hand position
Most operators improve quickly once they stop holding the gun too upright. In speed welding, the rod should feed into the joint at a forward angle so the heated tip of the rod is pushed into the softened groove as the nozzle advances. If the angle is too steep, the rod tends to buckle. If it is too flat, the rod can skate and leave poor fusion at the root.
Keep your wrist relaxed and let the nozzle do the guiding. A cramped grip usually leads to wobbles, side loading and uneven pressure. On longer seams, support the work so your forearm can travel smoothly. Chasing the weld over an awkward bench edge makes a decent bead almost impossible.
A useful approach is to line up your eyes with the bead so you can see three points at once: the rod entering the nozzle, the softened zone at the front of the weld and the finished bead behind it. That view tells you more than the sound of the gun ever will, and it quickly shows when the rod is not seating correctly.
Pressure that helps fusion, not distortion
Beginners often press far too hard, thinking pressure can make up for poor heat. It cannot. The pressure in speed welding should be firm enough to keep the rod engaged in the molten zone, but light enough that the nozzle still glides. Excess force gouges the parent plastic, squeezes too much material out to the sides and leaves a flattened bead with little strength underneath.
Good pressure feels consistent. The rod feeds forward, the bead forms evenly and the gun does not chatter. If the weld line jerks, the joint may be too cold, the groove may be dirty, or the rod may not be the correct profile for the nozzle. Triangular rod often behaves differently from round rod, so a slight hand adjustment is normal.
- Use enough pressure to keep the rod seated in the groove.
- Do not mash the nozzle into softened plastic.
- Watch for side squeeze-out that becomes excessive.
- Reduce force if the bead turns very flat and wide.
- Increase preheat rather than forcing a cold weld.
On thin sections, especially crate and bumper work, small changes in hand pressure make a big difference. It takes a bit of practice, but the bead should look laid in, not ironed over.
Travel speed and reading the bead
Travel speed is where many welds are won or lost. Move too fast and the bead sits proud with weak fusion at the base. Move too slowly and the area overheats, curls or drops out of shape. The correct pace is the one that keeps a stable melt zone just ahead of the rod while leaving a uniform bead behind.
Read the bead continuously. A healthy speed weld usually shows an even crown and a steady width, with no repeated cold gaps or burnt glossy patches. If the rod snakes from side to side, your travel may be uneven or the nozzle may be twisting. If the bead narrows suddenly, check whether the groove depth changed or whether you sped up without noticing.
On corners and changes in direction, most people rush. Slow down slightly, keep the nozzle aligned with the joint and let the heat catch up before adding more forward push. That small pause often saves a repair that would otherwise crack on the first flex.
Practice on offcuts using straight lines first, then outside corners and curved seams. Once your hand learns a steady rhythm, real repair work becomes much more predictable.
A short workshop checklist before the final pass
Before doing the visible or structural pass on a part, stop and check the basics. A one-minute inspection is cheaper than cutting out a failed bead later. This matters on tanks and containers where leaks show up only after the part is back in service, and on automotive trims where a bad weld may look tidy for a day or two then split.
- Plastic type matched to the correct rod.
- Joint cleaned and prepared to sound material.
- Nozzle suited to the rod profile being used.
- Heat setting proven on scrap or a discreet area.
- Rod feeding smoothly with no snagging.
- Hand position comfortable for the full weld length.
- Bead appearance checked after a short test run.
If the weld still feels uncertain after the test section, do not hide it under extra filler. Cut it out and start fresh while the cause is obvious. For teams that want more hands-on guidance with rod selection, nozzle use and practical bead control, our training page and our contact form are the best places to start.
What our Plastic Welding customers say
Verified Google reviews
Questions we get asked
Can I speed weld any plastic crack with one rod type?
No. The rod must suit the parent plastic. PP, PE, ABS and PVC do not weld interchangeably, and mixed materials often fail even when the bead looks neat.
Should the bead be pressed flat after welding?
Not as a rule. A sound bead normally keeps a consistent crown. Over-flattening can squeeze out hot material and reduce fusion in the joint.
Is a speed nozzle always needed?
For proper speed welding, yes in most workshop cases. It guides the rod and directs hot air where fusion happens. Open nozzles are still useful for tacking and general heating.
Also worth a look
Tell us about the job
Send sizes, materials and where you are through our contact form, and we will come back with the practical options.
Open the contact form